Maintenance
This handles the operation of the system—everything other than the actual surveillance itself.
System Information
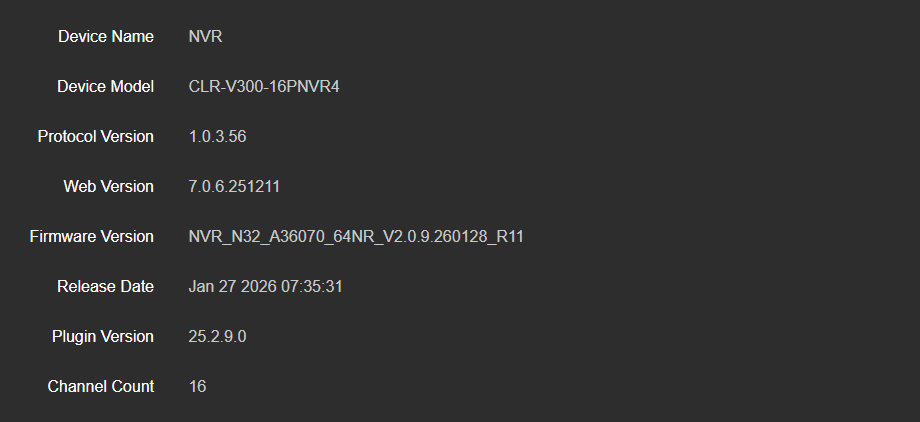
This provides basic information about the system, including the firmware running the device. You cannot edit anything here, but the information is helpful for troubleshooting.
Upgrade
Here you update the system firmware. Click Browse and navigate to the location of the new firmware file. Select the file, and click Upgrade.
A progress bar displays; it can take up to 10 minutes to update. Once the update is complete, the NVR reboots automatically.

Restore
Click Restore to revert all customization you have done to the NVR. This does not reset the IP settings (default gateway, ports, etc.) or the admin password.
Click Restore all settings to factory defaultto reset everything, including network settings. The NVR is just like it was when you took it out of the box.

Scheduled Reboot
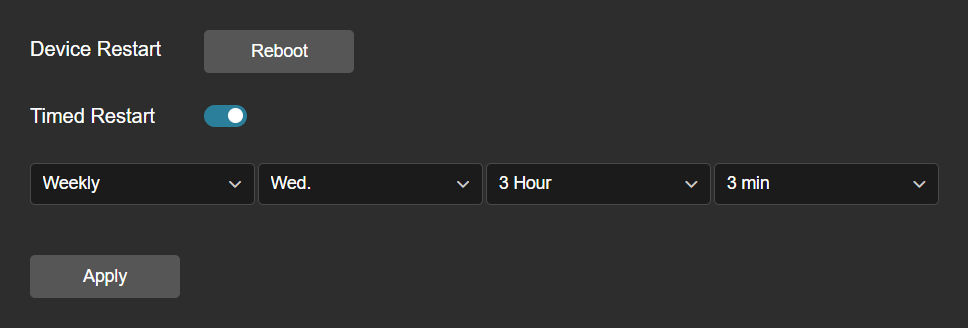
Click Reboot to reboot the NVR immediately.
To create a scheduled reboot, enable Timed Restart.
From the dropdowns, select whether to reboot the NVR daily, weekly, or monthly.
Click Apply to save the schedule.
Import and Export
You can back up (or import) the NVR's configuration file using your computer.
To back up the configuration file, click Export. The NVR exports the file to your Downloads folder.
To import a configuration file from your computer, click Browse. Navigate to and select the file, then click Import.

Channel Information
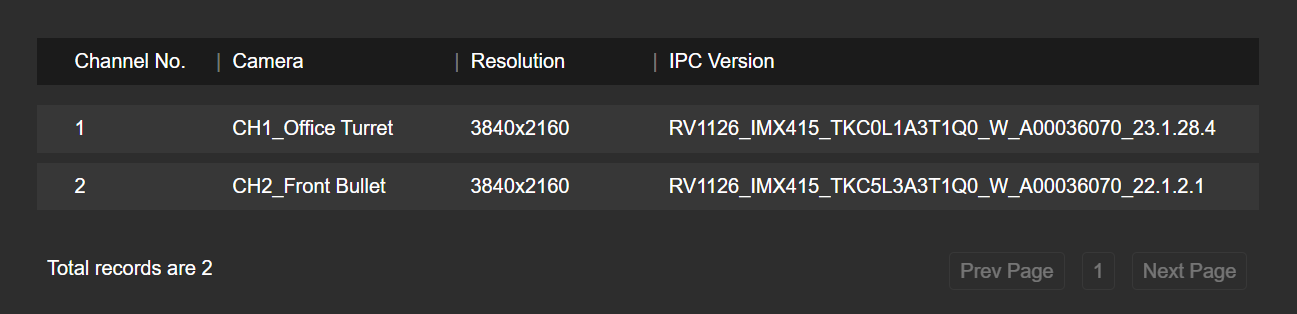
This informational screen lists all cameras in the system, their name, resolution, and firmware version.
Log
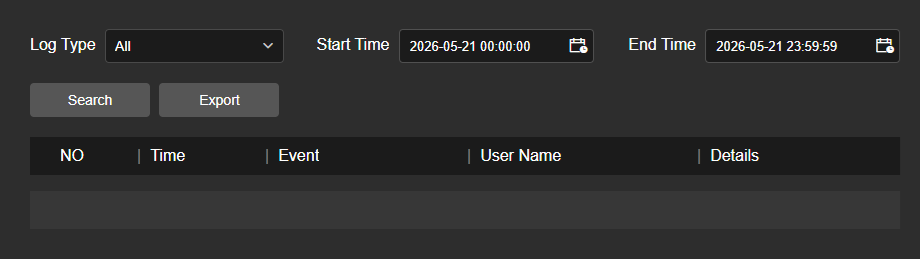
Here you can review all activities in the system.
When the window opens, it displays all events. To filter, choose the type of log you want to view next to Log Type, select the starting and ending time, and click Search.
Click Export to save a text file of the (filtered) log to your computer’s Downloads folder.
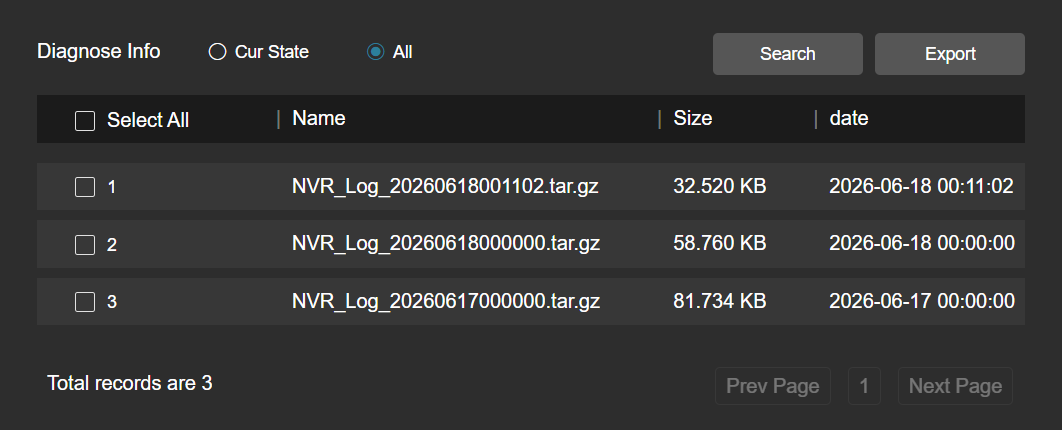
Diagnose Info
This generates detailed logs that may be requested by technical support.