Configuration: Record
Here you set when to record, the video specs, and manage storage.
Schedule
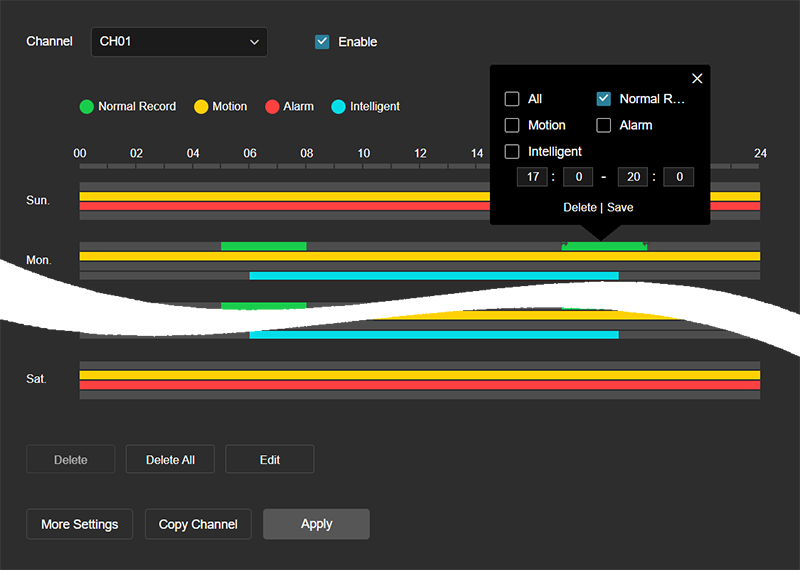
Each camera can have custom schedules for four styles of surveillance: Normal, Motion, Alarm, and Intelligent. Four scheduling bars appear for each day, in this order from top to bottom. The scheduled periods when surveillance is active are color-coded as well.
Pro Tip: Intelligent surveillance is generated at the camera.
Each day can have a maximum of eight surveillance periods, however each period can support multiple types of surveillance.
Edit using the display
Click in a bar to create an period for that event type. To edit a period, either click and drag the ends, or click the period and edit the start and end times (and recording type) manually in the black popup box shown.
Edit using text entry
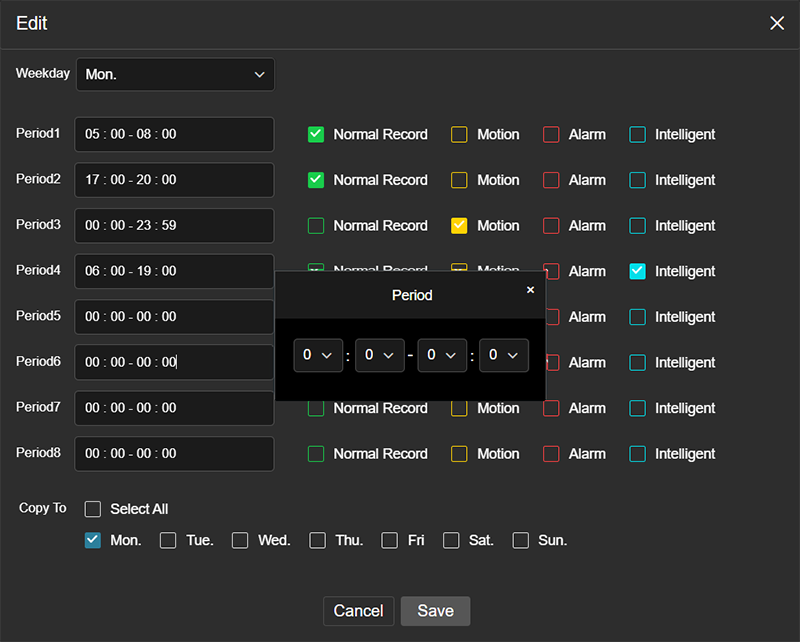
Select a day of the week to edit.
Click in the timespan box for the period to open a popup. Use the dropdowns to select the times the period starts and ends. Click the checkbox for each type of surveillance to use in that period. Use the checkboxes at the bottom to clone the schedule to other days. Click Save.
Other options
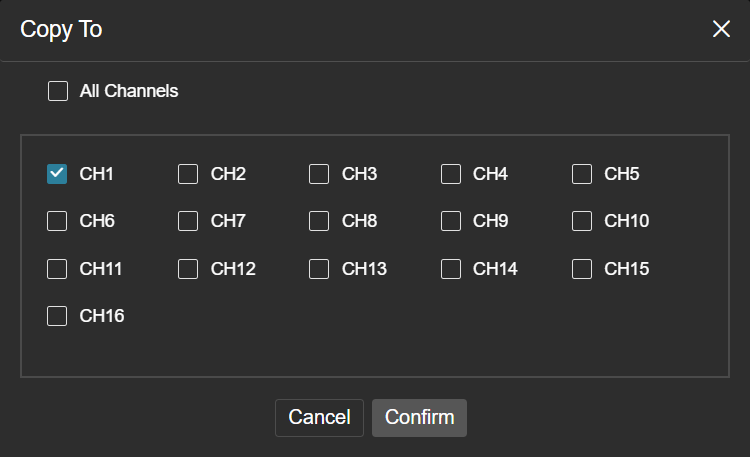
Click Copy Channel to apply the schedule for the current camera to other cameras in the system. Click the checkboxes for the other cameras to receive the schedule. You cannot deselect the source channel.
Click More Settings to set the pre-record time to append to the front of any surveillance video. This helps establish context before the event.
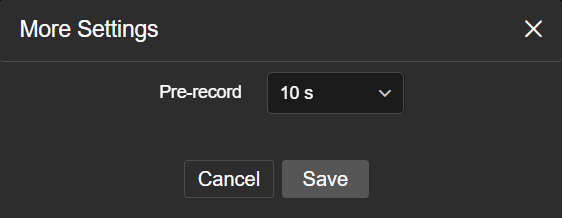
Parameter
Here you set the specifications for surveillance recordings.
Main Stream
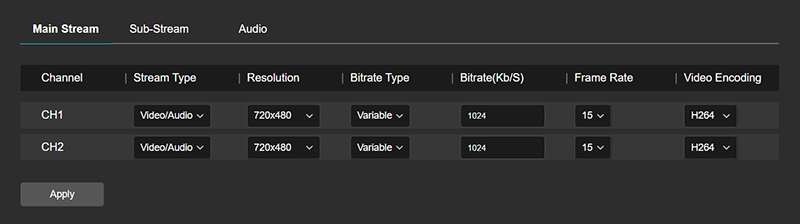
For each camera, select whether to include audio what the resolution is, the bitrate and whether it is fixed or variable, the frame rate, and the video codec to use.
Sub-stream
The controls here are the same as for the Main Stream.
Audio
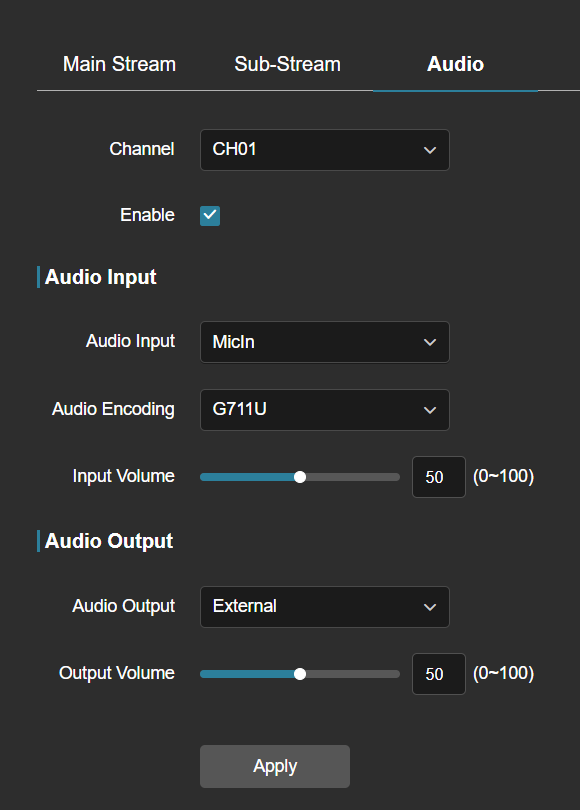
At the top, select a camera and click Enable if audio is desired.
For audio input, select whether the microphone is built-in, or from a separate line.
For audio output, select built-in speakers (those in your computer) or an attached speaker.
Storage
If neither NDD nor cloud storage is configured, then all recordings and snapshots are saved to your computer's Downloads folder.
Disk
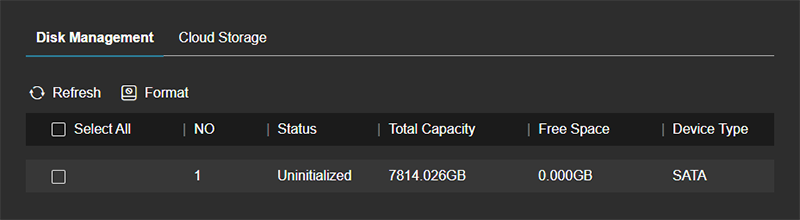
If the disk status reads, "Uninitialized" (or if it's filled with files you do not want), enable the checkbox at left and click Format.
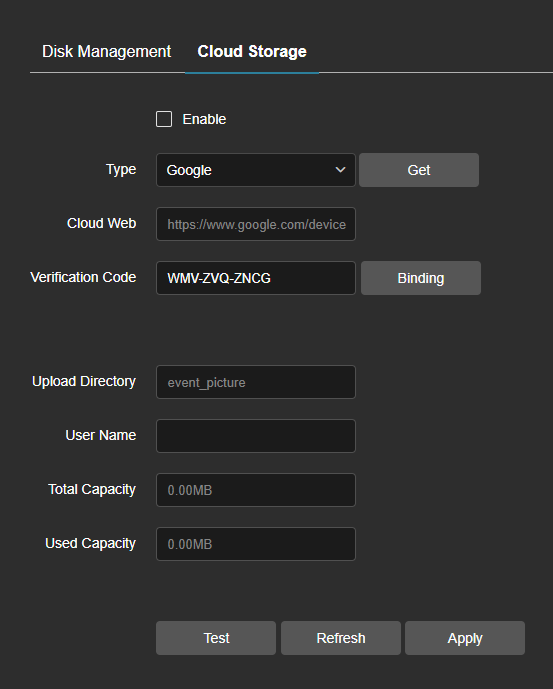
Cloud
If you have cloud services available, the NVR can save surveillance data there.
Advanced
Configuration
Set whether the NVR overwrites files when it's full, and when files are available to be deleted.
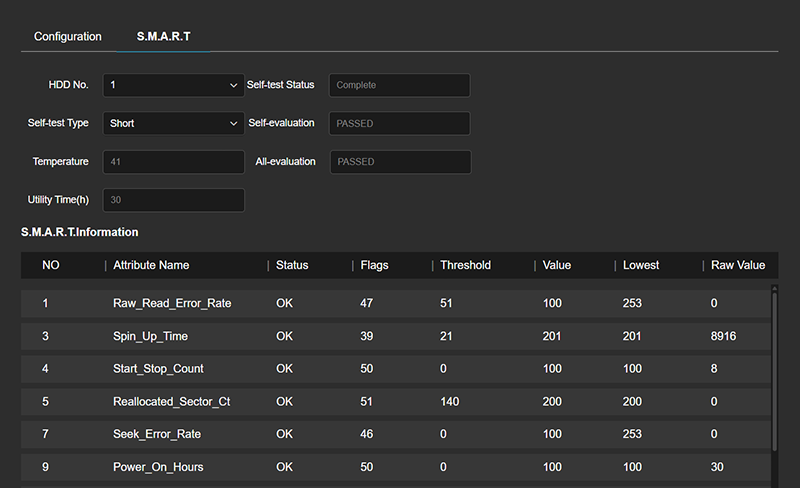
S.M.A.R.T.
SMART stands for Self-Monitoring, Analysis, and Reporting Technology.
This page shows detailed information for the disk selected in the dropdown menu. This is purely informational.